The Ultimate Guide to International Lonestar Headlight Assemblies: Everything You Need to Know
The International Lonestar is a modern classic, a truck that commands attention on the road. A crucial element of its iconic look and, more importantly, its safety, is the headlight assembly. Understanding these assemblies, from their components to troubleshooting common issues, is vital for Lonestar owners and operators. This in-depth guide will provide you with everything you need to know.
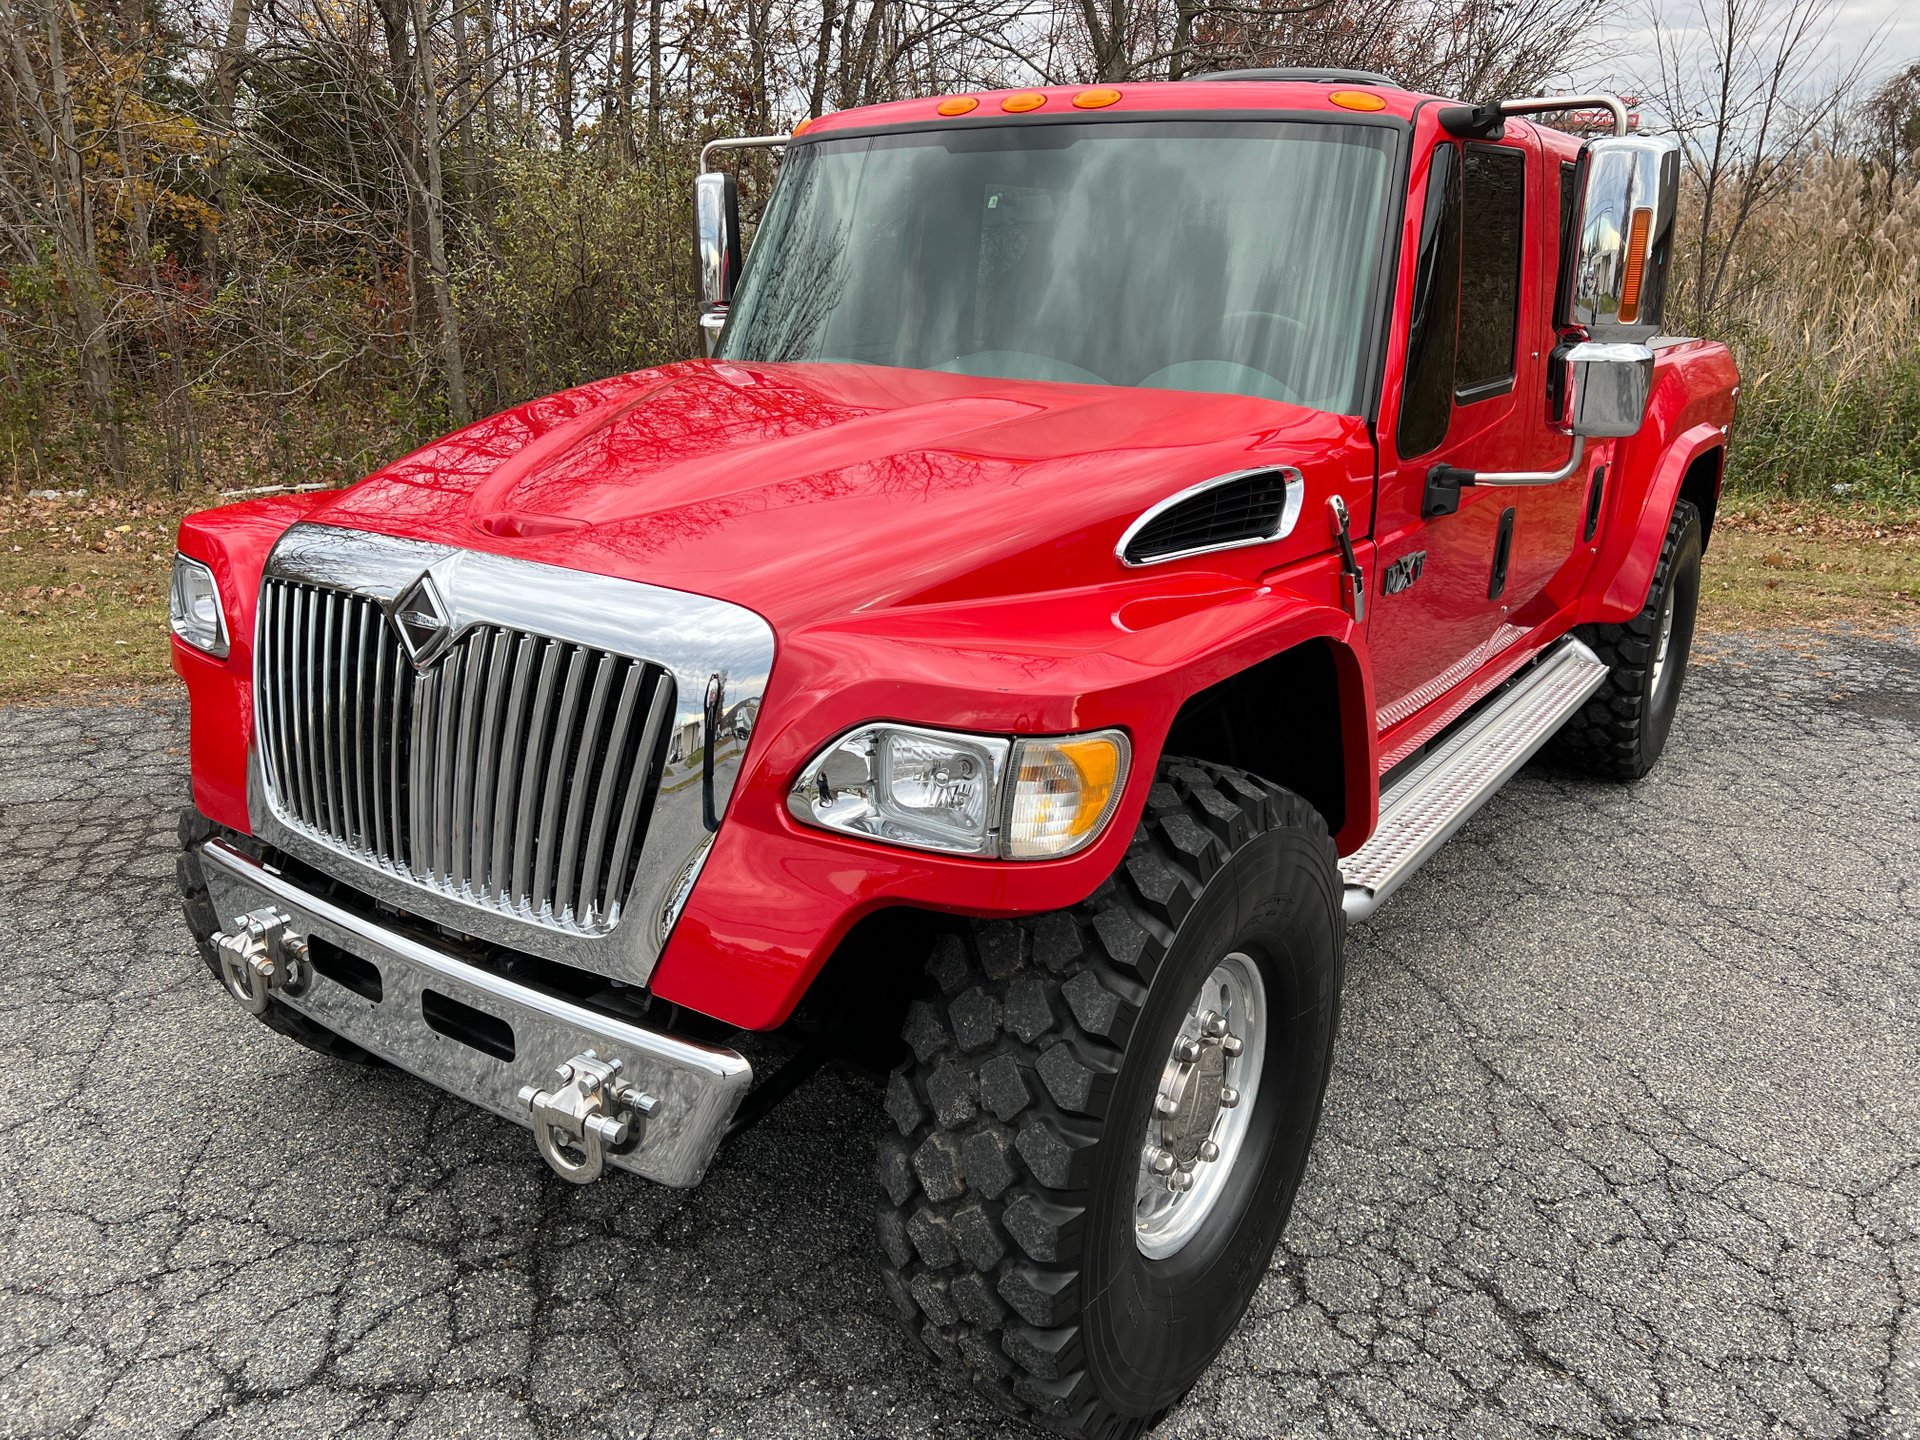
International Lonestar Headlight Assembly
Why Headlights Matter: More Than Just Illumination
Headlights are fundamental for safe driving, especially for long-haul truckers. They are your eyes on the road during nighttime or adverse weather conditions. Beyond visibility, headlight assemblies contribute significantly to the overall aesthetics of your International Lonestar.
- Safety First: Headlights provide the necessary illumination to see the road ahead, pedestrians, and other vehicles. Properly functioning headlights drastically reduce the risk of accidents, especially in low-light conditions.
- Visibility to Others: Headlights make your Lonestar visible to other drivers, preventing collisions. High beams enhance visibility in dark rural areas, while low beams are essential for city driving to avoid blinding oncoming traffic.
- Aesthetic Appeal: The headlight assembly is a key design element of the International Lonestar. A clean, bright headlight assembly enhances the truck's overall appearance and reflects pride in ownership.
- Legal Compliance: Operating a vehicle with malfunctioning headlights is illegal in most jurisdictions. Regular inspection and maintenance ensure compliance with traffic laws.
/world-flag-hands-globe-international-national-1585107-pxhere.com1-5c99f92543ba4f868c8467d971899e22.jpg)
Understanding the Components of an International Lonestar Headlight Assembly
An International Lonestar headlight assembly is more than just a bulb. It's a complex system of interconnected parts working together to provide optimal illumination.
- Headlight Housing: The housing is the outer shell that protects the internal components from the elements. It's typically made of durable plastic or composite materials.
- Lens: The lens is the clear or slightly tinted cover that focuses the light beam. It's designed to be resistant to scratches and impacts.
- Reflector: The reflector is a mirrored surface that amplifies and directs the light from the bulb. It's crucial for maximizing light output and beam accuracy.
- Bulb (or Light Source): This is the heart of the headlight assembly, producing the light. International Lonestars may use halogen, LED, or HID (High-Intensity Discharge) bulbs.
- Wiring and Connectors: These components provide the electrical connection between the truck's electrical system and the headlight bulb.
- Adjusters: These mechanisms allow you to aim the headlight beam correctly, ensuring optimal visibility without blinding other drivers.
- Seals and Gaskets: These components prevent moisture and debris from entering the headlight assembly, which can damage the internal components and reduce light output.

Types of Headlight Bulbs: Halogen, LED, and HID
International Lonestar headlight assemblies can utilize different types of bulbs, each with its own advantages and disadvantages.
- Halogen Bulbs: These are the most common type of headlight bulb, known for their affordability and ease of replacement. They produce a warm, yellowish light.
- Pros: Affordable, readily available, easy to replace.
- Cons: Shorter lifespan compared to LED or HID, lower light output, less energy-efficient.
- LED (Light-Emitting Diode) Bulbs: LEDs are becoming increasingly popular due to their energy efficiency, long lifespan, and bright, white light output.
- Pros: Long lifespan, energy-efficient, bright light output, instant-on capability.
- Cons: Higher initial cost, can require additional components like resistors or decoders to prevent error messages.
- HID (High-Intensity Discharge) Bulbs: HID bulbs produce a very bright, bluish-white light. They are known for their long lifespan and excellent visibility.
- Pros: Very bright light output, long lifespan, excellent visibility.
- Cons: High initial cost, require a ballast to operate, can be sensitive to voltage fluctuations.
Choosing the Right Headlight Assembly: Factors to Consider
When replacing an International Lonestar headlight assembly, consider these factors:
- Compatibility: Ensure the replacement assembly is specifically designed for your Lonestar's year and model.
- Bulb Type: Decide which bulb type best suits your needs and budget. Consider LED for longevity and brightness, or stick with halogen for affordability.
- Quality: Invest in a high-quality assembly from a reputable brand. This ensures durability, proper fitment, and optimal performance.
- DOT Compliance: Make sure the headlight assembly is DOT (Department of Transportation) compliant. This ensures it meets federal safety standards.
- Price: Compare prices from different vendors to find the best deal. However, don't sacrifice quality for price.
- Reviews: Read online reviews from other Lonestar owners to get an idea of the assembly's performance and reliability.
Common Headlight Problems and Troubleshooting
Even with proper maintenance, headlight assemblies can experience problems. Here are some common issues and how to troubleshoot them:
- Dim Headlights: Dim headlights can be caused by several factors, including:
- Oxidized Bulbs: Over time, headlight bulbs can become oxidized, reducing their light output. Replacing the bulbs is usually the solution.
- Corroded Connectors: Corrosion on the wiring connectors can restrict the flow of electricity to the bulbs. Clean the connectors with a wire brush and apply dielectric grease.
- Faulty Ground: A bad ground connection can also cause dim headlights. Check the ground wires for corrosion or looseness.
- Low Voltage: A weak battery or alternator can cause low voltage to the headlights. Have your charging system tested.
- Headlight Burnout: Headlight bulbs have a limited lifespan and will eventually burn out.
- Replacement: The most straightforward solution is to replace the burned-out bulb. Always replace bulbs in pairs to ensure even light output.
- Check Voltage: Before replacing, check the voltage at the bulb socket with a multimeter. This ensures the bulb isn't burning out due to overvoltage.
- Cloudy or Yellowed Lenses: Over time, headlight lenses can become cloudy or yellowed due to UV exposure and oxidation.
- Lens Restoration Kit: You can use a headlight lens restoration kit to remove the oxidation and restore the lens clarity.
- Lens Replacement: If the damage is severe, you may need to replace the entire headlight assembly.
- Moisture Inside the Headlight Assembly: Moisture can enter the headlight assembly through cracks or damaged seals.
- Check Seals: Inspect the seals and gaskets for damage. Replace them if necessary.
- Ventilation: Ensure the headlight assembly's ventilation system is not blocked.
- Silica Gel Packs: You can place silica gel packs inside the assembly to absorb moisture.
- Flickering Headlights: Flickering headlights can be caused by loose wiring, a faulty headlight switch, or a failing ballast (for HID headlights).
- Check Wiring: Inspect the wiring and connectors for looseness or damage.
- Test Switch: Have the headlight switch tested by a qualified technician.
- Replace Ballast: If you have HID headlights, the ballast may need to be replaced.
Step-by-Step Guide to Replacing an International Lonestar Headlight Assembly
Replacing a headlight assembly is a relatively straightforward task that can be done with basic tools. However, always consult your Lonestar's service manual for specific instructions.
Tools You'll Need:
- Socket set
- Screwdriver (Phillips and flathead)
- Pliers
- Gloves
- Safety glasses
- New headlight assembly
Steps:
- Disconnect the Battery: Disconnect the negative terminal of the battery to prevent electrical shocks.
- Remove the Grille (If Necessary): Some Lonestar models require removing the grille to access the headlight assembly. Consult your service manual for instructions.
- Locate the Headlight Assembly Mounting Bolts: These bolts typically hold the headlight assembly in place.
- Remove the Mounting Bolts: Use a socket wrench to remove the mounting bolts.
- Disconnect the Wiring Connectors: Disconnect the wiring connectors from the headlight assembly. Be careful not to damage the connectors.
- Remove the Old Headlight Assembly: Carefully remove the old headlight assembly from the truck.
- Install the New Headlight Assembly: Align the new headlight assembly with the mounting holes.
- Connect the Wiring Connectors: Connect the wiring connectors to the new headlight assembly. Ensure they are securely attached.
- Install the Mounting Bolts: Install the mounting bolts and tighten them securely.
- Reinstall the Grille (If Removed): Reinstall the grille if you removed it earlier.
- Reconnect the Battery: Reconnect the negative terminal of the battery.
- Test the Headlights: Turn on the headlights to ensure they are working properly.
- Adjust the Headlight Aim: Use the headlight adjusters to aim the headlights correctly.
Pro tips from us: Always wear gloves and safety glasses when working on your vehicle. Consult your International Lonestar service manual for specific instructions and torque specifications.
Headlight Aiming: Ensuring Optimal Visibility
Proper headlight aiming is crucial for maximizing visibility and preventing glare for other drivers.
- Find a Level Surface: Park your Lonestar on a level surface, such as a parking lot or garage.
- Measure Distance: Measure the distance from the ground to the center of the headlight lens.
- Prepare a Wall: Park your Lonestar 25 feet from a wall.
- Mark the Wall: Mark the wall with a horizontal line at the same height as the headlight lens center.
- Adjust the Headlights: Use the headlight adjusters to aim the headlights so that the top of the high-intensity zone is at or slightly below the horizontal line.
Common mistakes to avoid are: Aiming headlights too high, which can blind oncoming drivers. Failing to adjust headlights after replacing the assembly.
Maintenance Tips for Longevity
Proper maintenance can extend the life of your International Lonestar headlight assemblies.
- Regular Cleaning: Clean the headlight lenses regularly with a mild soap and water solution.
- Inspect for Damage: Inspect the headlight assemblies regularly for cracks, chips, or other damage.
- Replace Bulbs in Pairs: When replacing headlight bulbs, always replace them in pairs to ensure even light output.
- Check Wiring: Check the wiring and connectors for corrosion or damage.
- Use Dielectric Grease: Apply dielectric grease to the wiring connectors to prevent corrosion.
Upgrading Your Headlights: Enhancing Performance and Style
Consider upgrading your International Lonestar headlights for improved performance and a modern look.
- LED Conversion Kits: LED conversion kits replace your halogen bulbs with brighter, more energy-efficient LEDs.
- Projector Headlights: Projector headlights provide a more focused and controlled beam pattern.
- Custom Headlight Housings: Custom headlight housings can add a unique and stylish touch to your Lonestar.
Remember to research and choose upgrades that are DOT-compliant and compatible with your Lonestar's electrical system.
Where to Buy International Lonestar Headlight Assemblies
You can purchase International Lonestar headlight assemblies from various sources.
- International Dealerships: International dealerships are a reliable source for genuine OEM headlight assemblies.
- Online Retailers: Online retailers like Amazon and eBay offer a wide selection of aftermarket headlight assemblies.
- Auto Parts Stores: Auto parts stores like NAPA and AutoZone carry a variety of headlight assemblies.
Based on my experience, purchasing from reputable sources ensures quality and compatibility.
Conclusion: Investing in Your Lonestar's Lighting
The International Lonestar headlight assembly is a crucial component for safety, visibility, and aesthetics. By understanding the components, troubleshooting common issues, and performing regular maintenance, you can ensure your Lonestar's headlights are always performing at their best. Whether you're replacing a damaged assembly or upgrading for enhanced performance, investing in quality headlights is an investment in your safety and the overall look of your truck.
Further Reading:
- SAE International (External Link - Trusted Source for Automotive Engineering Standards)
By keeping your headlights in top condition, you're not just improving your visibility; you're contributing to safer roads for everyone.